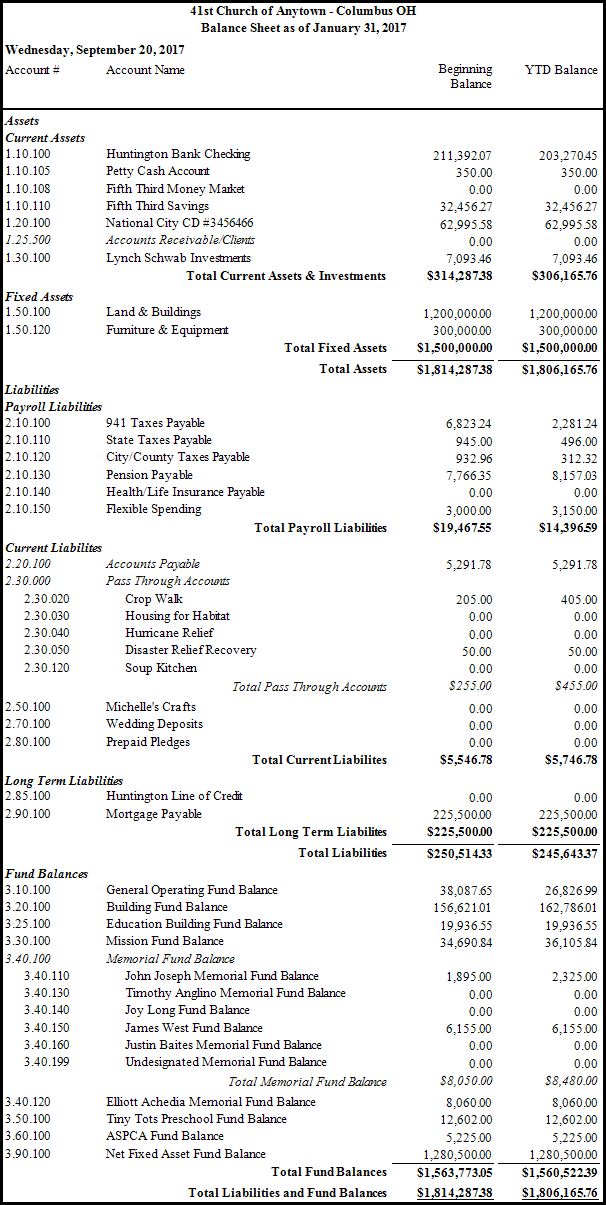
Balance Sheet
Use the Balance Sheet report to pull up a summary of the value of all Assets, Liabilities, accounts payable / vendors, and Funds balances showing the organization's condition on a specific date.
To view or print the Balance Sheet:
- Click Reports/Export in the Button Bar at the top of the screen.
- Click the Financial button and a menu will show the option for Balance Sheet.
- Click the Balance Sheet option.
- Accounting Year —
Choose the desired year from the dropdown box. - Balances...
Choose either:- For Month and select the month from the dropdown.
- As of and choose the specific date.
- Place a
 checkmark in the Truncate Cents box if you wish to remove the decimals that would otherwise show with each dollar amount.
 - Include...
If you wish to include Accounts With Zero Balance on the report, click to place a checkmark in the box. Otherwise, the report will show only accounts that have some kind of balance other than $0.00. - Format (See Columns / Fields tab for additional selections) —
Choose either:- Monthly Comparative — shows period information for the selected month on the report.
- Annual Comparative — shows information for the entire year.
- Choose any of the following tabs to apply additional settings:
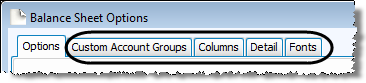
If the group you wish to choose is not there, you can even add a new group by clicking + Custom Account Groups button, and adding to the new group only the accounts you wish the report to show.
Check the Visible Columns list on the to see which columns are set to display.
Show or hide any of the balances of any Subtotals from the report by making selections on the Detail tab.
Change the size and style of the font that prints on the report.

Once you have made all of your selections, click Print to view a Print Preview and then proceed in sending the file to your printer. You can also Export most reports and/or Send via Email as a file to be used outside of Church Windows.